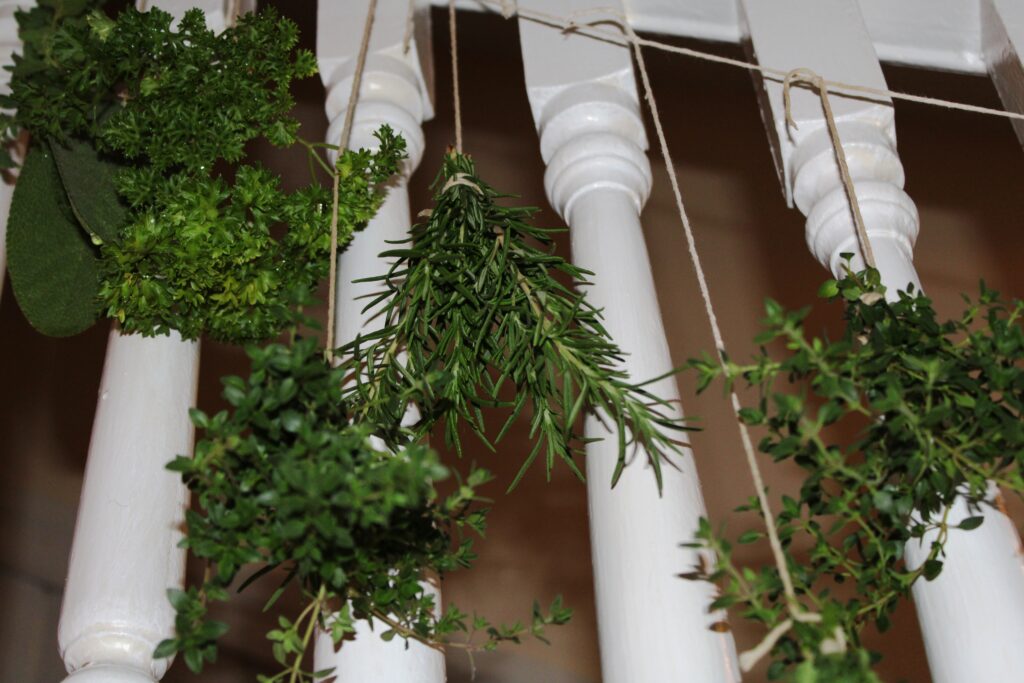
For my birthday this summer, I received this awesome herb garden from my friend’s mom who is an amazing gardener. Her mom grew a bunch of hydroponic plants this year and I just think that is the coolest thing ever. She planted all of these beautiful herbs in a hanging planter and well, I hate to admit, but I haven’t really used them much. As you can see below, they are very overgrown. I have to figure out what to do, I don’t want them to go to waste. So I looked online and read a bunch of articles and it seems like drying some of the herbs is my best bet. There are a lot of opinions of how to dry herbs, so I am going to take what sounds like the best parts and mash them together in this DIY project.
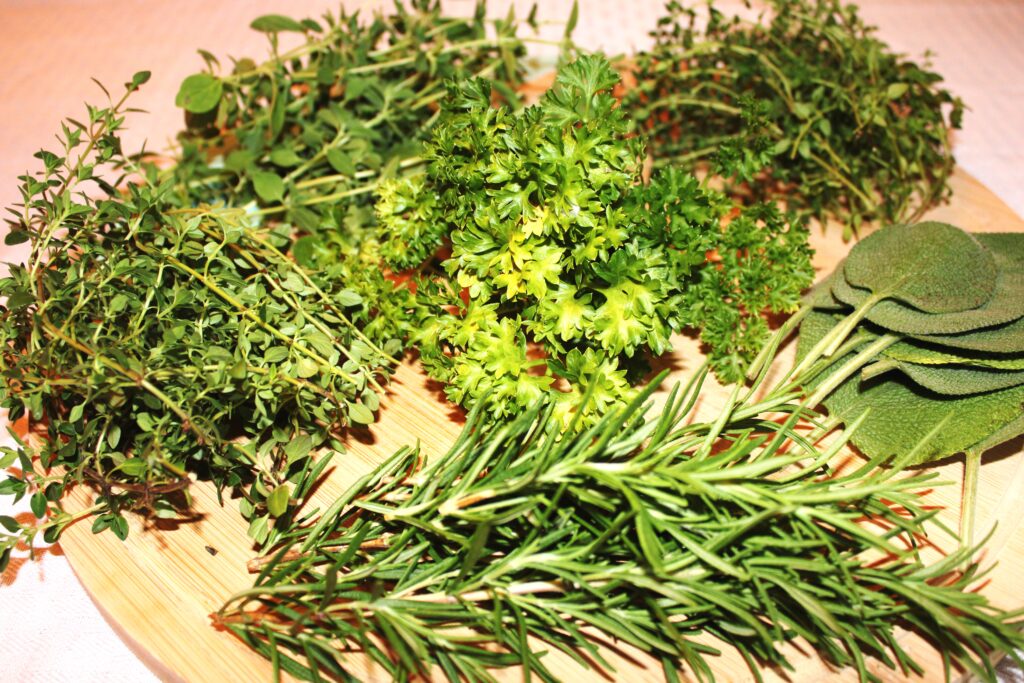
How to Dry Your Own Herbs
Step 1: Trim your herb plants, preferably before they bloom if applicable. Trim larger herbs like sage from their stalk. More delicate herbs like dill can remain on their stalk.
Step 2: Rinse dirt and bugs off the herbs.
Step 3: Gather herbs into small bundles, keeping the same herbs together.
Step 4: Tie the bundles together with some twine.
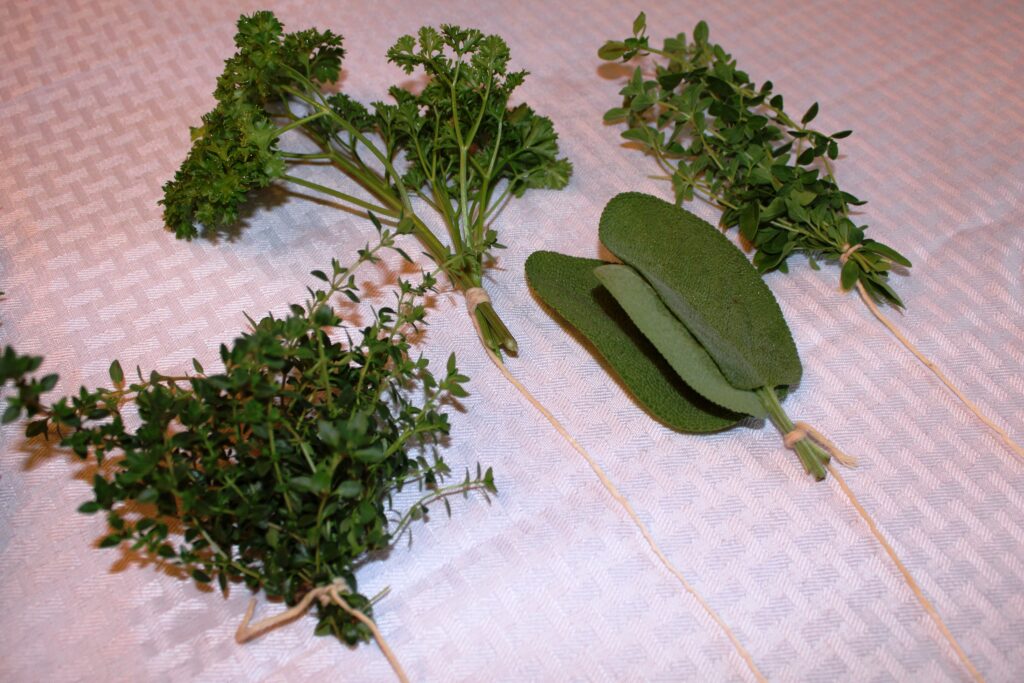
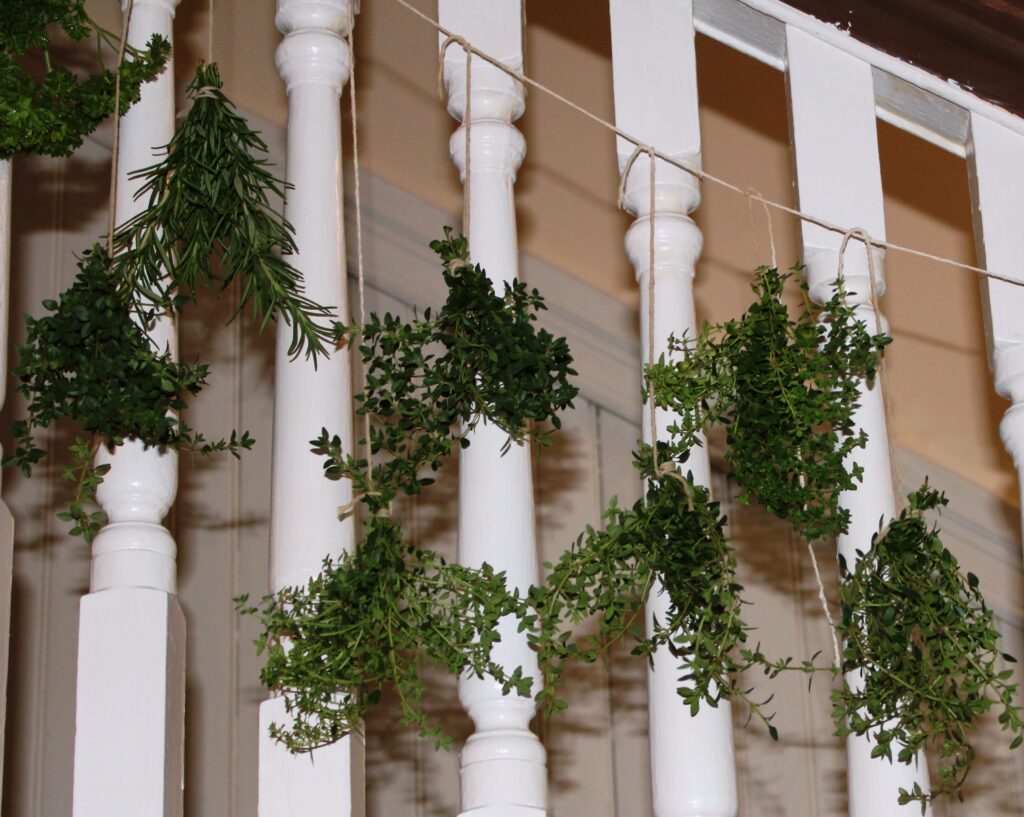
Step 5: Tie each bundle to a long piece of twine.
Step 6: Hang your herb “garland” somewhere dark, dry with the least amount of humidity and out of direct sunlight.
Step 7: Allow your herbs to dry for 7-10 days. You herbs will be ready when they appear, feel and sound crunchy.
Step 8: Store the herbs in air tight containers.
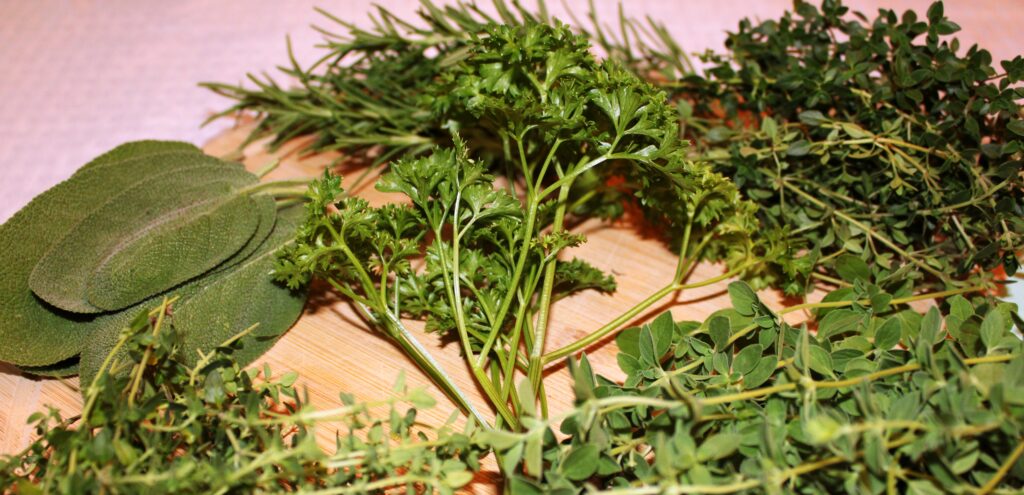
Tips for Drying Your Own Herbs
- Don’t make your herb bundles too big, they could mold if air cannot circulate properly.
- Check on the drying herbs frequently to make sure mold is not growing.
- You can cover each bundle of herbs with a brown paper bag so that the seeds will not fall on the surface below. Cut several holes in the bags to allow air to circulate.
- You can speed up the dry time but using a dehydrator or oven set at a very low temp.
Leave a comment below with your tips and tricks to drying your own herbs at home. I would love to learn more about this process.


